
It is not simple to get good lighting in videos. Bad lighting makes videos dark. It can also obscure crucial details. It is a popular issue for creators, teachers, and marketers.
They would like their videos to appear bright and clear. The Relight tool within CapCut Desktop Video Editor can do this. It efficiently corrects lighting issues.
The tool illuminates dark spots in your video. It also makes hard shadows softer. It does this to make your video appear clean and clear. Your content will be more professional-looking.
It will also be more easily viewed and enjoyed. The Relight tool is also time-saving. You won’t have to manually correct lighting.
But keep in mind that CapCut Desktop is not completely free. Certain tools, such as Relight, might require a paid version to operate.
Why Use the Relight Feature in CapCut Desktop Video Editor?
Enhance Video Quality Instantly
Flat lighting makes videos hard to watch and draws attention away from the content. CapCut Desktop Video Editor’s Relight feature fills dark areas and refines shadows.
This improves subject visibility and general video brightness. CapCut Desktop Video Editor also offers text to speech to add voiceovers and make videos more attractive.
Professional Results Without Expensive Equipment
You don’t need to invest in pricey lights or extra gear to get the professional look. Relight emulates studio lighting in CapCut Desktop Video Editor.
This is cost-effective and space-efficient while giving your videos that smooth appearance, which seems to have been shot using high-end equipment.
Save Time and Effort in Post-Production
Relight turns sophisticated lighting adjustments into an automatic process, so you don’t spend hours fiddling with brightness and shadows.
Relight speeds your editing process and enables you to focus on other elements of your video without losing time and effort.
Flexibility for Different Types of Videos
Relight is appropriate for the majority of video types, including educational, marketing videos, and social media videos.
It makes your videos clear and light. You can get multiple styles with ease using the available tools in CapCut Desktop Video Editor.
Step-by-Step Guide to Using the Relight Feature
Step 1: Download and Install CapCut Desktop Video Editor
Go to the official CapCut website to download the desktop version. Make sure your computer meets the basic system needs. You’ll need enough storage and a supported operating system.
After downloading, double-click the setup file. Follow the on-screen steps to install the software. When it’s done, open CapCut. Log in or sign up if needed.
CapCut has many free tools. But some advanced tools, like Relight, may need a paid plan.

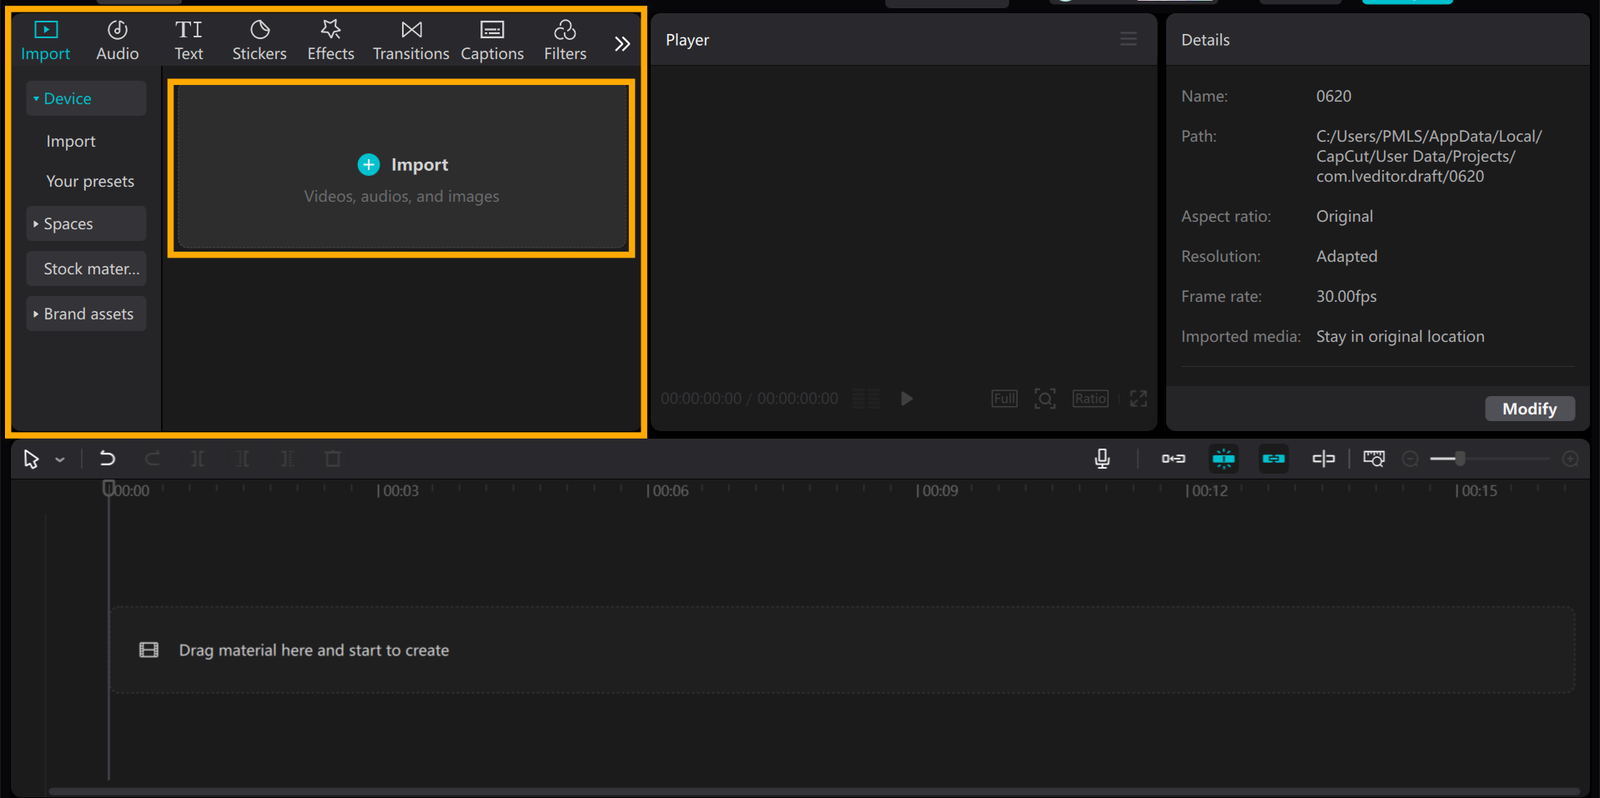
Step 2: Import Your Video
Launch CapCut Desktop Video Editor. Tap the “Import” button on the homepage. Select the video file you wish to edit from your device.
It is helpful to store your files within folders so you can find them easily. Once imported, drag the video onto the timeline at the bottom. This prepares your video for editing and allows you to relight with ease.
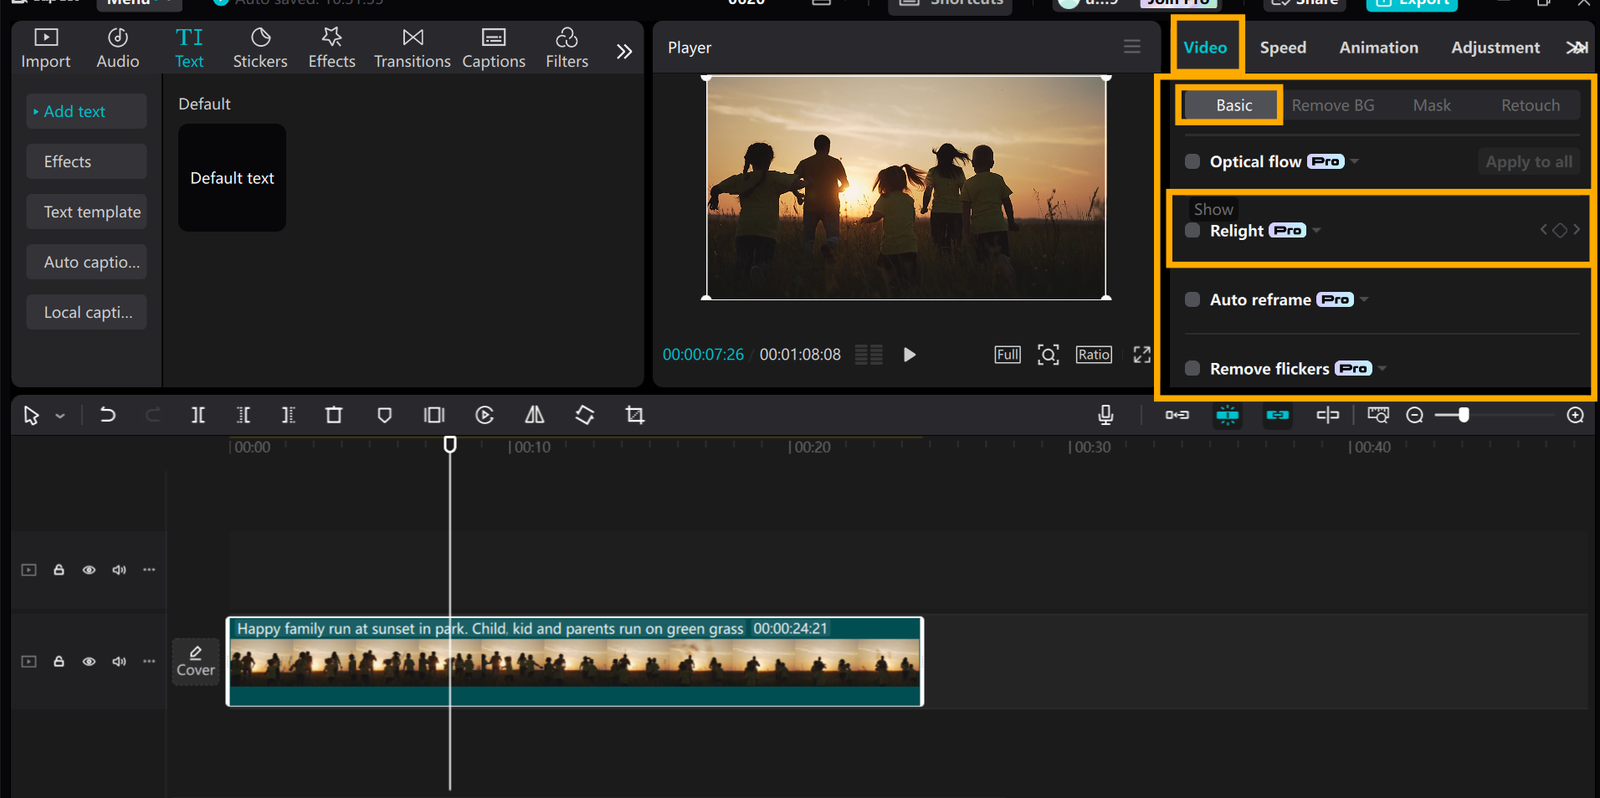
Step 3: Turn On the Relight Tool
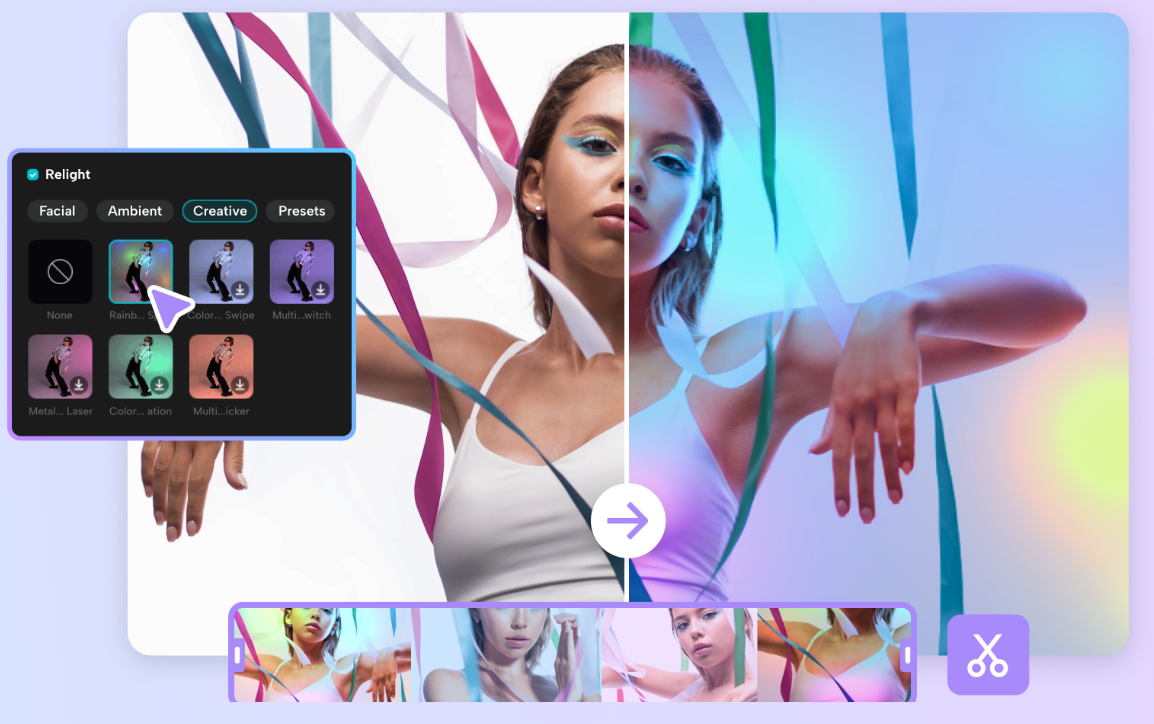
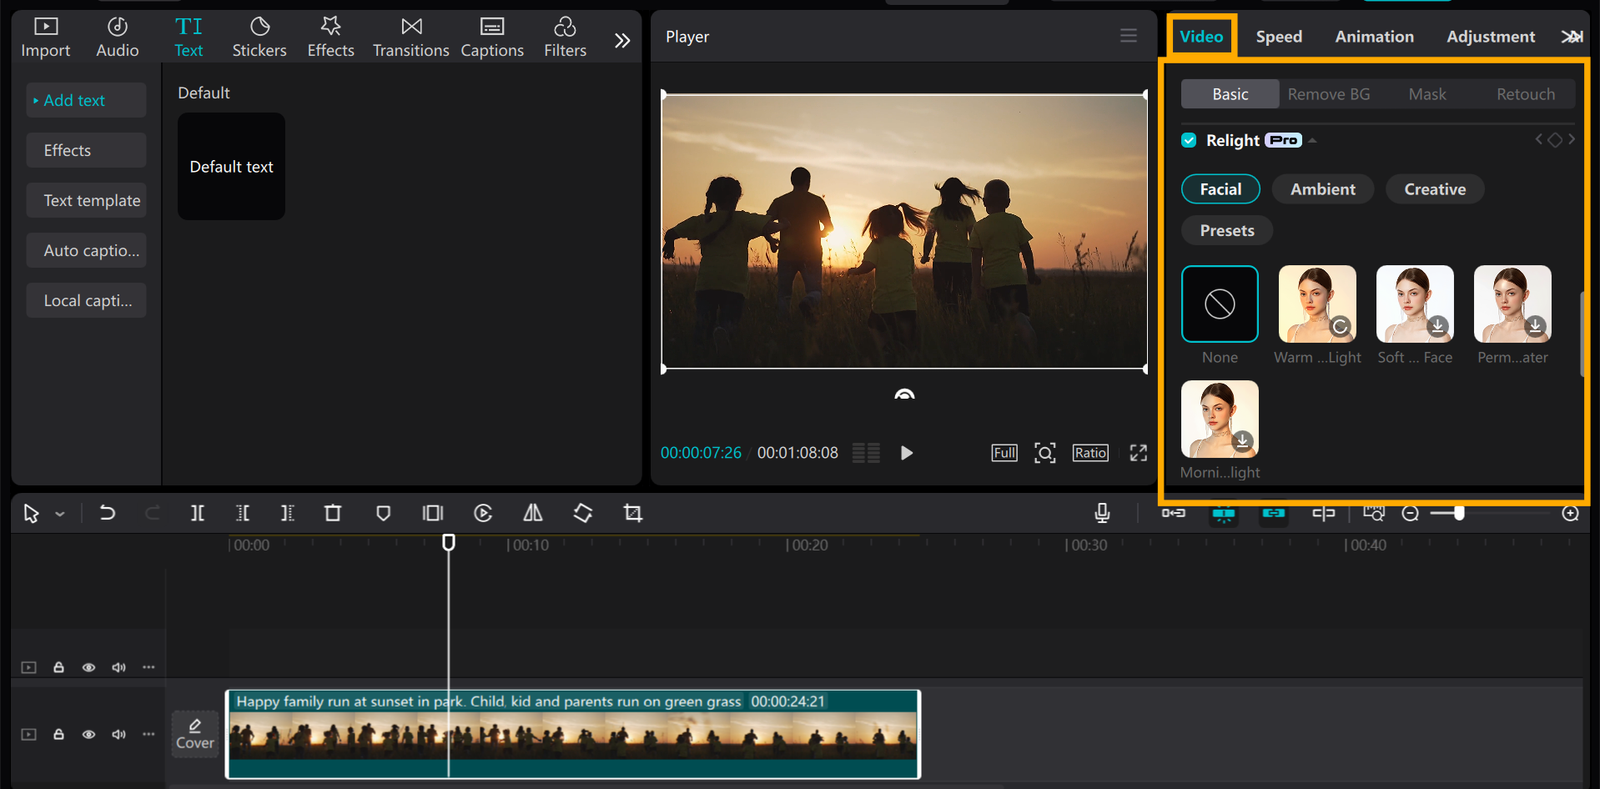
Open the CapCut PC video editor and go to the Video tab at the top. Make sure you’re in the Basic section. Find the Relight option and tick the box to turn it on.
Pick your video from the timeline. Now, choose a look from the Facial, Ambient, or Creative tabs.
Step 4: Pick and Adjust the Lighting Style
Once the Relight tool is on, you’ll see some lighting styles on the screen. Click on one, like Warm Light, Soft Face, or Morning Light.
The effect shows up right away. If you want to change it, just click the style again. You can adjust how strong the light is or where it shines.
Aim for a soft, clean look. You can also use the AI video generator in the CapCut PC video editor to create clips, then add Relight for better results. Try a few options until it feels just right.
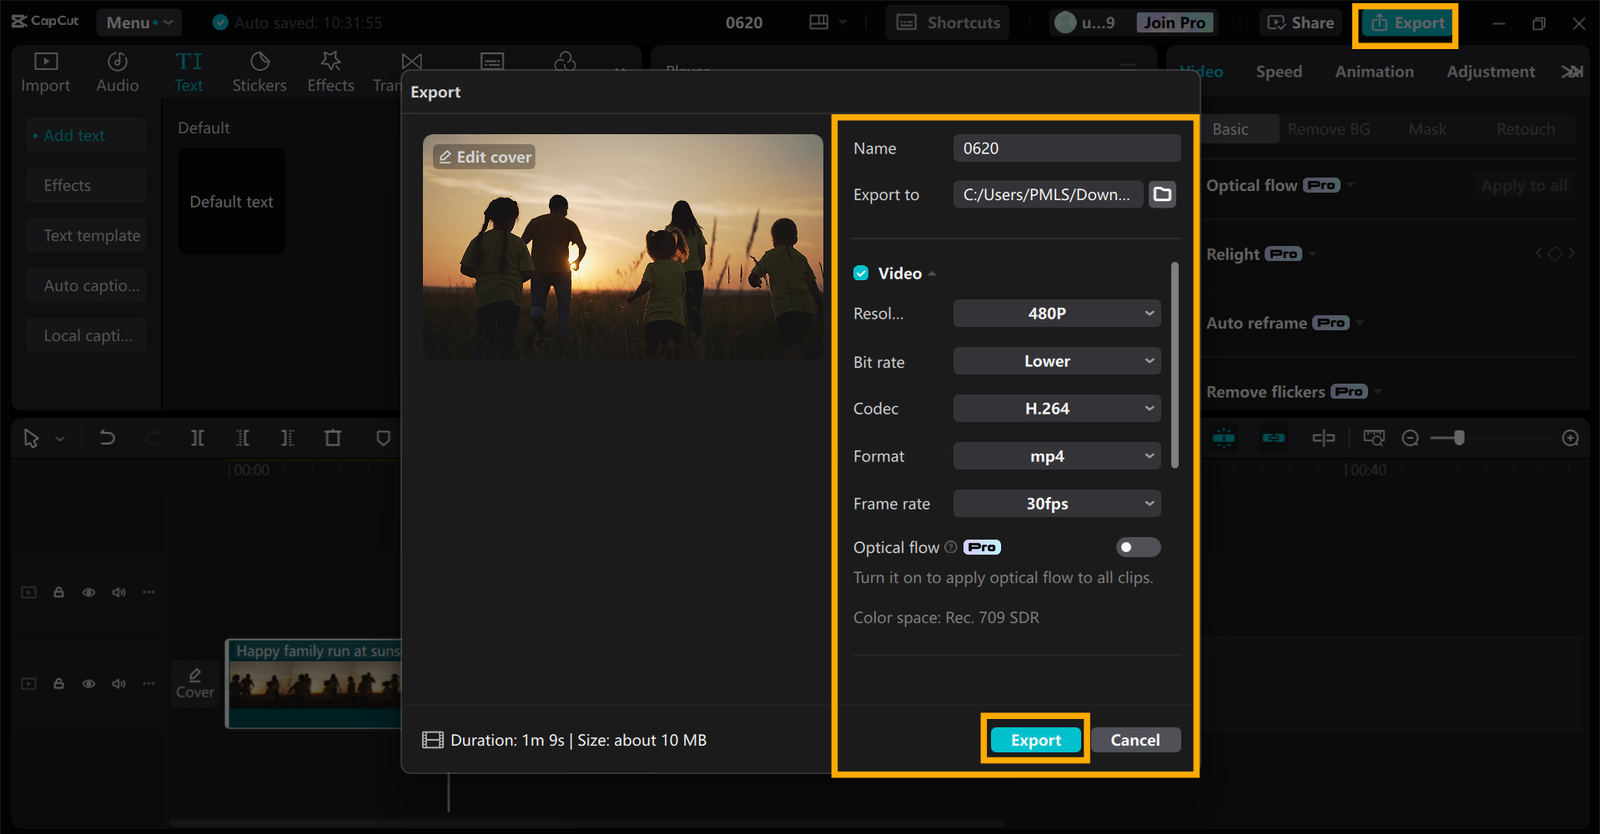
Step 5: Preview, Export, and Share
Before saving, preview the video in CapCut Desktop Video Editor to verify if the lighting looks proper. If content, then click on the “Export” option. Choose the resolution and file format you need.
Higher resolution means better quality, but creates big files. After exporting, you can share your video on social media, study sites, or send it to students and friends.
You can also try out other functions like the voice changer to add fun or professional voiceovers to your video, making it more interesting.
Conclusion
The Relight feature in CapCut Desktop Video Editor helps you create light, crisp videos that look professional. It improves your video quality without additional hardware.
By using this tool, you can enhance your content and draw attention quickly. To continue, download CapCut Desktop Video Editor from its official site.
This will provide you with the newest updates and a secure version. Look into the many creative features that it possesses to animate your videos and have your projects shine.